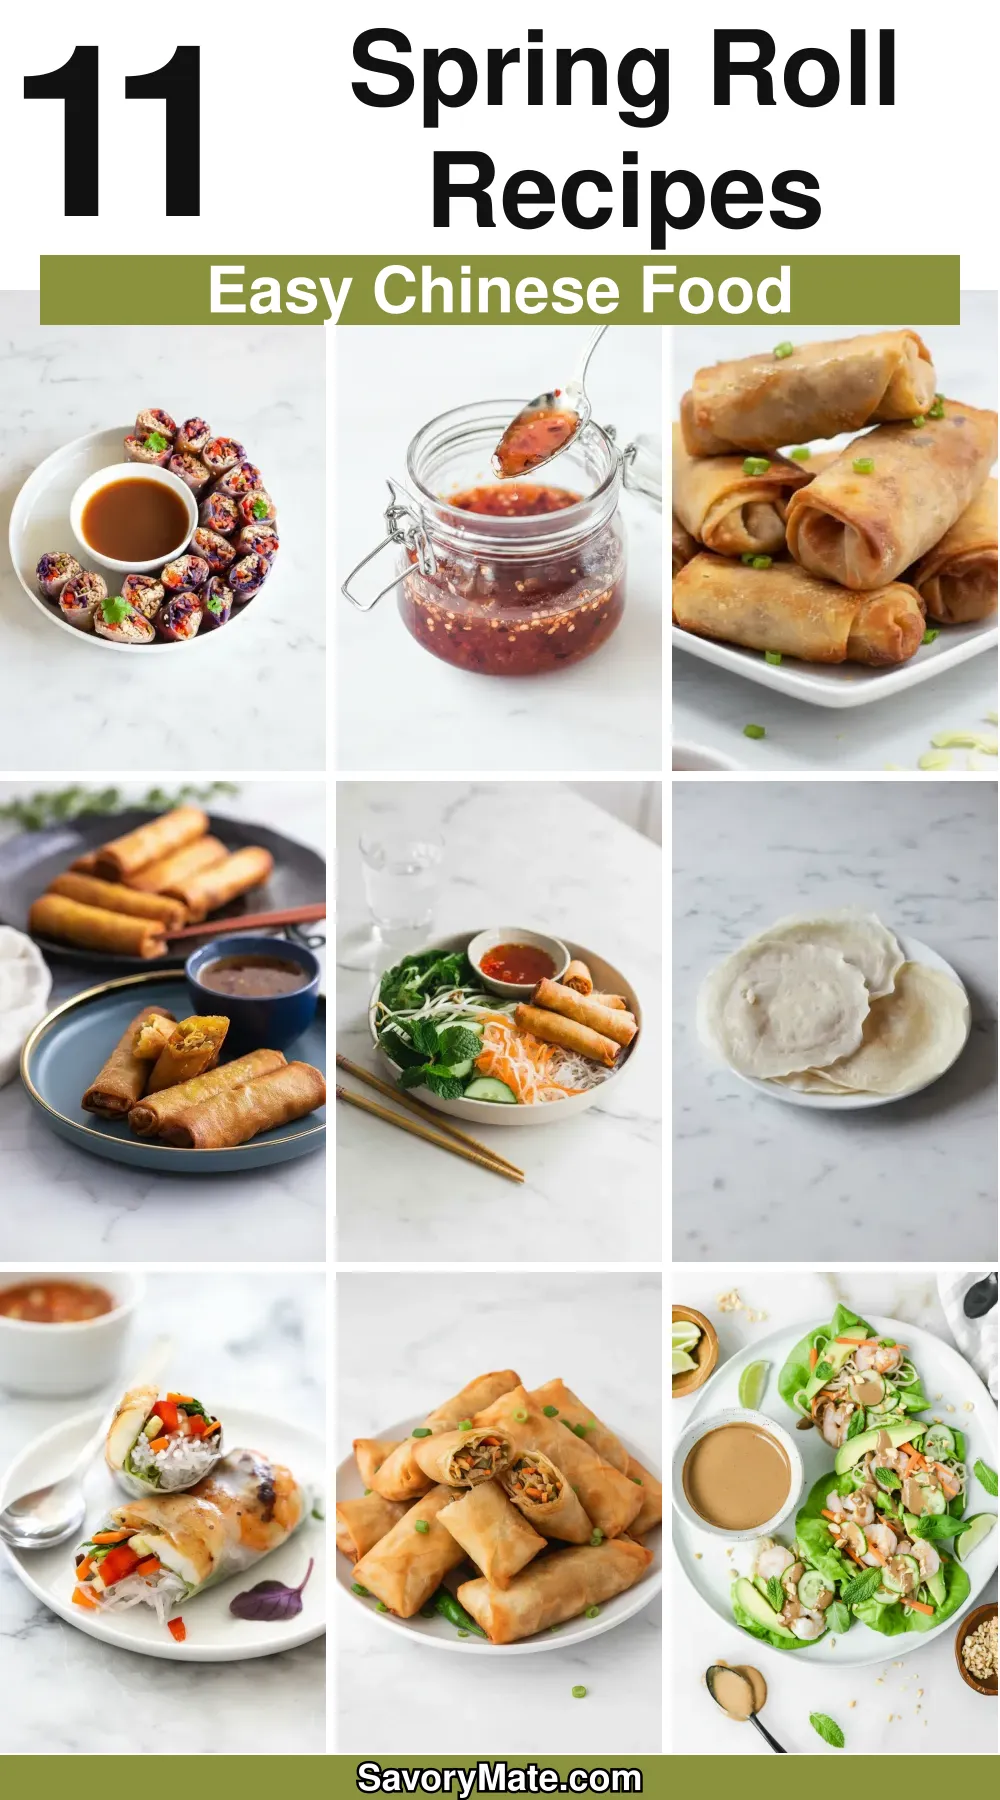
Homemade spring roll sheets unlock a world of delicious possibilities right in your own kitchen. Instead of relying on store-bought wrappers, you can create thin, pliable, and perfectly chewy sheets that elevate your favorite rolls.
Moreover, this simple recipe uses just a few pantry staples. Whether you’re filling them with fresh vegetables or savory proteins, these homemade wrappers provide a superior texture and fresh flavor. Let’s dive into the art of making spring roll sheets from scratch.
Why You’ll Love This Recipe
You will adore this recipe for several fantastic reasons. First, it gives you complete control over the ingredients, ensuring a clean and wholesome product. Second, the process is incredibly satisfying and surprisingly simple once you get the hang of it.
Additionally, homemade sheets are fresher and more flavorful than any you can buy. They have a delightful chewiness that holds fillings perfectly without tearing. Finally, making them yourself is a fun kitchen project that impresses family and friends. You’ll feel a real sense of accomplishment when you serve your first batch of perfect homemade spring rolls.
Recipe
Print
Spring Roll Sheets from Scratch
- Total Time: 41 min
Description
Learn how to make thin, pliable, and delicious spring roll wrappers at home with just four simple ingredients. Perfect for fresh or fried spring rolls.
Ingredients
- 1 cup all-purpose flour (120 g)
- 3 tablespoon cornstarch (24 g)
- a pinch of salt (adjust to taste)
- 1.5 to 2 cups water (355 to 473 ml) (to make batter)
Instructions
- Make the batter by combining flour, cornstarch, and salt in a bowl.
- Gradually whisk in lukewarm water until a smooth, thin, pourable batter forms.
- Let the batter rest for 15-20 minutes.
- Heat a non-stick skillet over medium-low heat and lightly grease it.
- Pour a ladle of batter into the pan and quickly swirl to form a thin circle.
- Cook for about 45-60 seconds until the edges lift and top is set.
- Flip and cook the other side for 15-20 seconds.
- Transfer to a plate and repeat with remaining batter.
- Store sheets with parchment paper between each layer to prevent sticking.
Notes
- Batter consistency should be like heavy cream.
- Do not overcook sheets; they should remain soft and pliable.
- Keep cooked sheets covered with a damp cloth to prevent drying.
- Prep Time: 6 min
- Cook Time: 35 min
- Category: Main Course
- Method: Baked
- Cuisine: American
Nutrition
- Calories: 532 kcal
- Sugar: 1 g
- Sodium: 21 mg
- Fat: 2 g
- Carbohydrates: 111 g
- Fiber: 5 g
- Protein: 15 g
Ingredients and Substitutions
This recipe keeps things wonderfully simple with just a few key components. Here’s what you need and some easy swaps you can make.
Base Components
- All-Purpose Flour: This forms the foundation of the dough. For a whole-grain option, you can substitute up to half with whole wheat flour, though the texture will be slightly denser.
- Cornstarch: This is the secret ingredient for creating a translucent, flexible sheet. It lightens the flour’s texture and gives the wrapper its signature chew. Arrowroot powder or tapioca starch can work in a pinch.
- Salt: A pinch enhances the flavor of the dough. You can adjust it to your taste or use a low-sodium alternative if preferred.
- Water: You need lukewarm water to bring the dough together. The exact amount can vary based on your flour’s absorption rate, so adding it gradually is key.
How to Make Spring Roll Sheets
Follow these clear steps to create flawless spring roll wrappers. The process involves making a smooth batter and then cooking it into thin sheets.
Step 1: Making the Batter
First, gather your ingredients. Combine the all-purpose flour, cornstarch, and salt in a large mixing bowl. Whisk these dry ingredients together thoroughly to ensure an even distribution. Next, slowly pour in the lukewarm water while continuously whisking.
You want to add just enough water to create a very smooth, thin, and pourable batter, similar to the consistency of heavy cream. Importantly, let the batter rest for about 15 to 20 minutes. This resting period allows the flour to fully hydrate and results in a more elastic sheet.
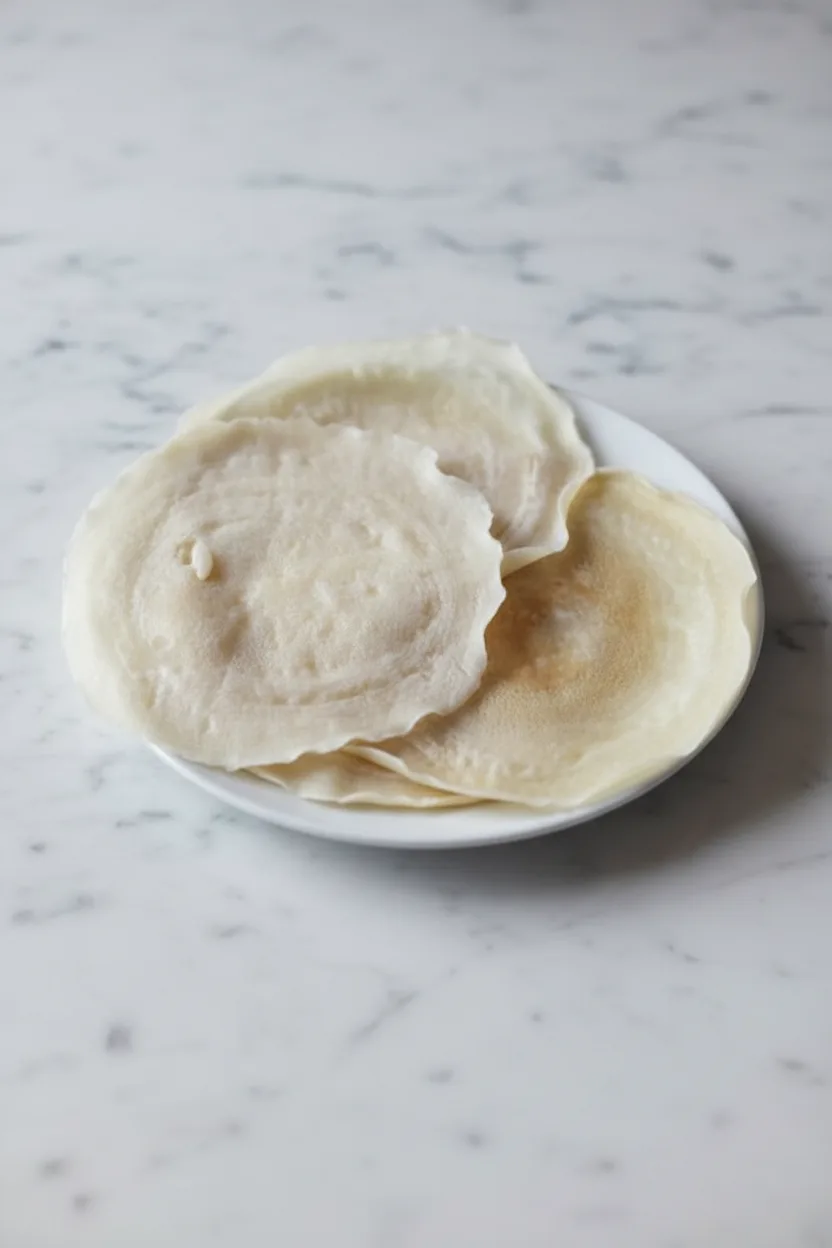
Step 2: Preparing the Sheets
Now, it’s time to cook the sheets. Heat a non-stick skillet or a crepe pan over medium-low heat. You want the surface to be warm but not smoking hot. Lightly grease the pan with a neutral oil using a paper towel. Pour a small ladleful of batter into the center of the pan.
Quickly tilt and rotate the pan to spread the batter into a thin, even circle. Cook for about 45 seconds to 1 minute, or until the edges start to lift and the top looks dry and set. Carefully flip the sheet over and cook the other side for just another 15 to 20 seconds. The sheet should be pliable and soft, not crispy. Transfer the cooked sheet to a plate and repeat with the remaining batter.
Step 3: Storing Spring Roll Sheets
Proper storage keeps your sheets ready for use. As you cook each sheet, place it on a plate. To prevent sticking, place a piece of parchment paper or a very lightly oiled piece of plastic wrap between each sheet as you stack them.
Cover the entire stack with a damp kitchen towel to keep them from drying out if you plan to use them within a few hours. For longer storage, you can wrap the stack tightly in plastic wrap and refrigerate for up to two days. Alternatively, you can freeze them for up to a month with parchment between each sheet.
Pro Tips for Success
A few expert tips will guarantee perfect sheets every single time.
- Use a non-stick pan for the easiest release and most consistent results.
- Ensure your batter is completely smooth and lump-free before you start cooking.
- Keep the heat at a consistent medium-low to prevent burning or uneven cooking.
- Work quickly when swirling the batter to get a thin, even circle before it sets.
- Do not overcook the sheets; they should remain soft and flexible, not crispy.
- Keep your cooked sheets covered at all times to prevent them from drying out and becoming brittle.
Flavor Variations
You can easily customize these basic sheets to add extra color or subtle flavor. For a vibrant green wrapper, add a teaspoon of spinach powder to the dry ingredients. Similarly, a bit of beetroot powder will create beautiful pink sheets.
For a savory umami note, you can mix a small amount of mushroom powder into the batter. If you enjoy a bit of spice, a pinch of chili powder or paprika adds a nice kick and a lovely hue. These variations are perfect for making your spring rolls visually exciting and uniquely yours.
Serving Suggestions
These homemade sheets are the perfect vehicle for countless fillings. Traditionally, you can fill them with a mixture of shredded cabbage, carrots, bell peppers, and cooked vermicelli noodles. For a protein-packed option, add shredded chicken or tofu. Then, simply roll them up and enjoy them fresh. Alternatively, you can fill and fry them for crispy golden spring rolls.
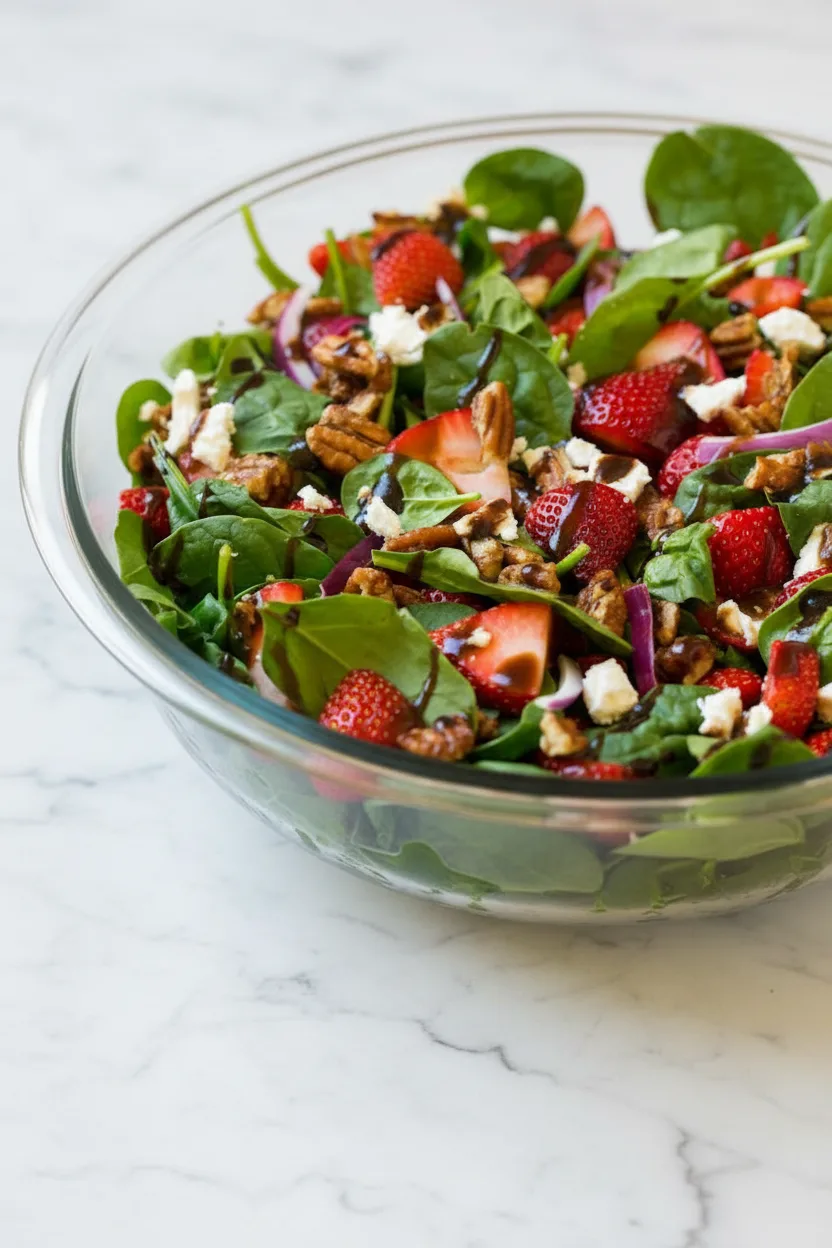
They also work wonderfully for making fresh summer rolls filled with herbs, lettuce, and cooked shrimp. Serve your spring rolls with a classic sweet chili sauce or a savory peanut dipping sauce. For more fresh and vibrant meal ideas, check out our recipe for a refreshing cucumber tomato avocado salad to serve on the side.
Storage and Freezing Instructions
Store your homemade sheets properly to enjoy them later. In the short term, place the stack of sheets in an airtight container or wrap them tightly in plastic wrap. Refrigerate them for up to two days. For longer storage, freezing is the best method.
Separate each sheet with a small square of parchment paper to prevent them from freezing together. Place the stack in a freezer-safe bag, press out all the air, and seal tightly. They will keep for up to one month.
To thaw, simply transfer the needed number of sheets from the freezer to the refrigerator for several hours or overnight. Use them straight from the fridge; they will be perfectly pliable once they reach room temperature.
Nutrition Facts per Serving
| Calories | Fat | Carbs | Protein | Fiber | Sugar | Sodium |
|---|---|---|---|---|---|---|
| 532 kcal | 2 g | 111 g | 15 g | 5 g | 1 g | 21 mg |
FAQs About Spring Roll Sheets
Here are answers to some common questions about making spring roll wrappers at home.
Can I make the batter ahead of time?
Yes, you can prepare the batter ahead of time. In fact, letting it rest in the refrigerator for a few hours can improve the texture. Just make sure to cover it tightly and give it a good stir before you start cooking the sheets.
Why are my sheets tearing?
Sheets usually tear if they are too thin or overcooked. Ensure your batter isn’t too runny and that you cook each sheet just until set, not until crispy. Keeping them covered with a damp cloth also prevents them from drying out and becoming brittle.
Can I use this dough for egg rolls?
While this recipe creates a thinner wrapper ideal for fresh or lightly fried spring rolls, you can use it for egg rolls. For a sturdier egg roll wrapper, simply make the batter slightly thicker and cook the sheets a touch longer to achieve a more durable texture.
What’s the best way to roll without breaking the sheet?
Place your filling in the lower third of the sheet. Gently fold the bottom edge over the filling, tucking it in snugly. Then, fold in the left and right sides. Finally, roll the bundle upwards tightly but gently. A slightly damp sheet is more pliable and less likely to crack.
What other dishes can I use these sheets for?
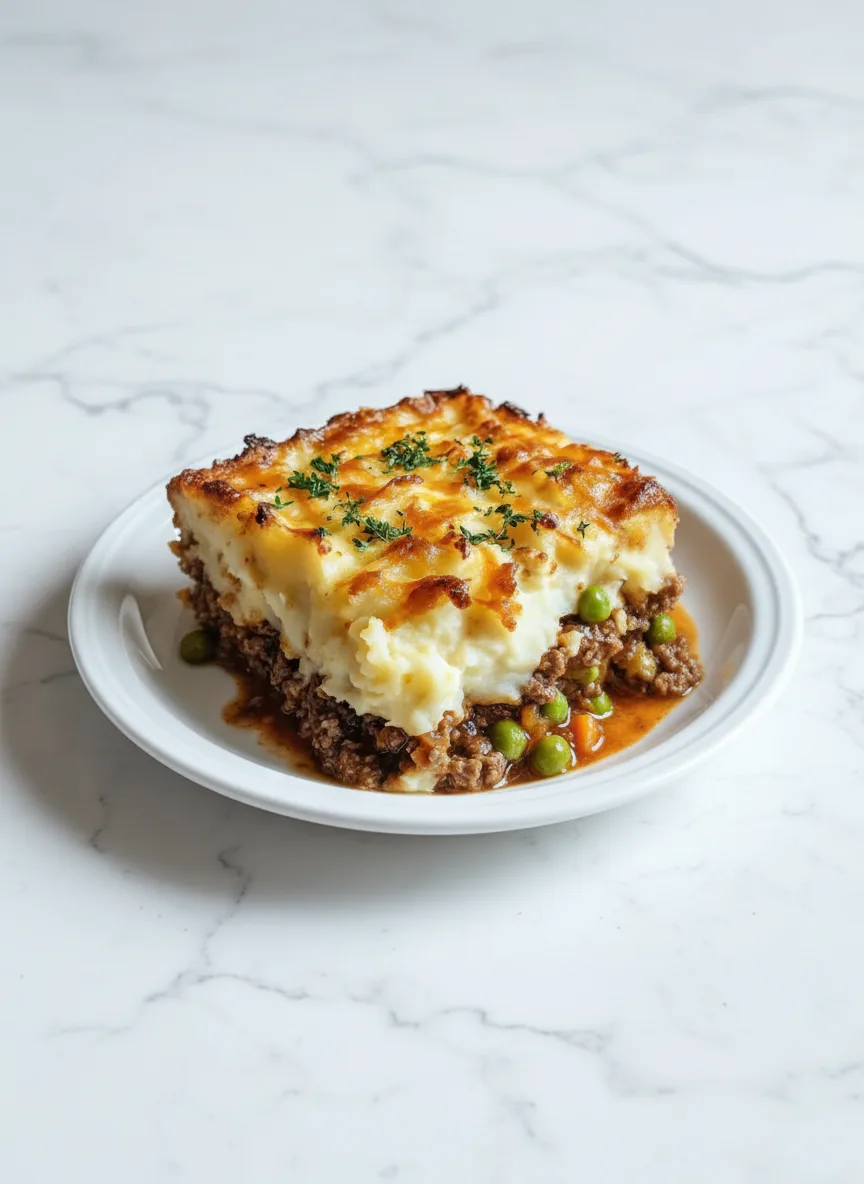
These versatile sheets go beyond spring rolls. You can use them as homemade noodle sheets by slicing them into strips. They also work as wrappers for dumplings or as a base for creative canapes. For another great way to use fresh, homemade components, try pairing your spring rolls with a hearty Greek chicken salad bowl for a complete meal.
Final Thoughts
Making spring roll sheets from scratch is a rewarding kitchen skill that opens doors to endless culinary creativity. With just flour, cornstarch, salt, and water, you can produce wrappers that are fresher, tastier, and more adaptable than any store-bought version.
Remember, practice makes perfect, so don’t worry if your first sheet isn’t flawless. The process is fun, and the delicious results are well worth the effort. Once you master the basic sheet, you can experiment with fillings, dips, and even colorful variations.
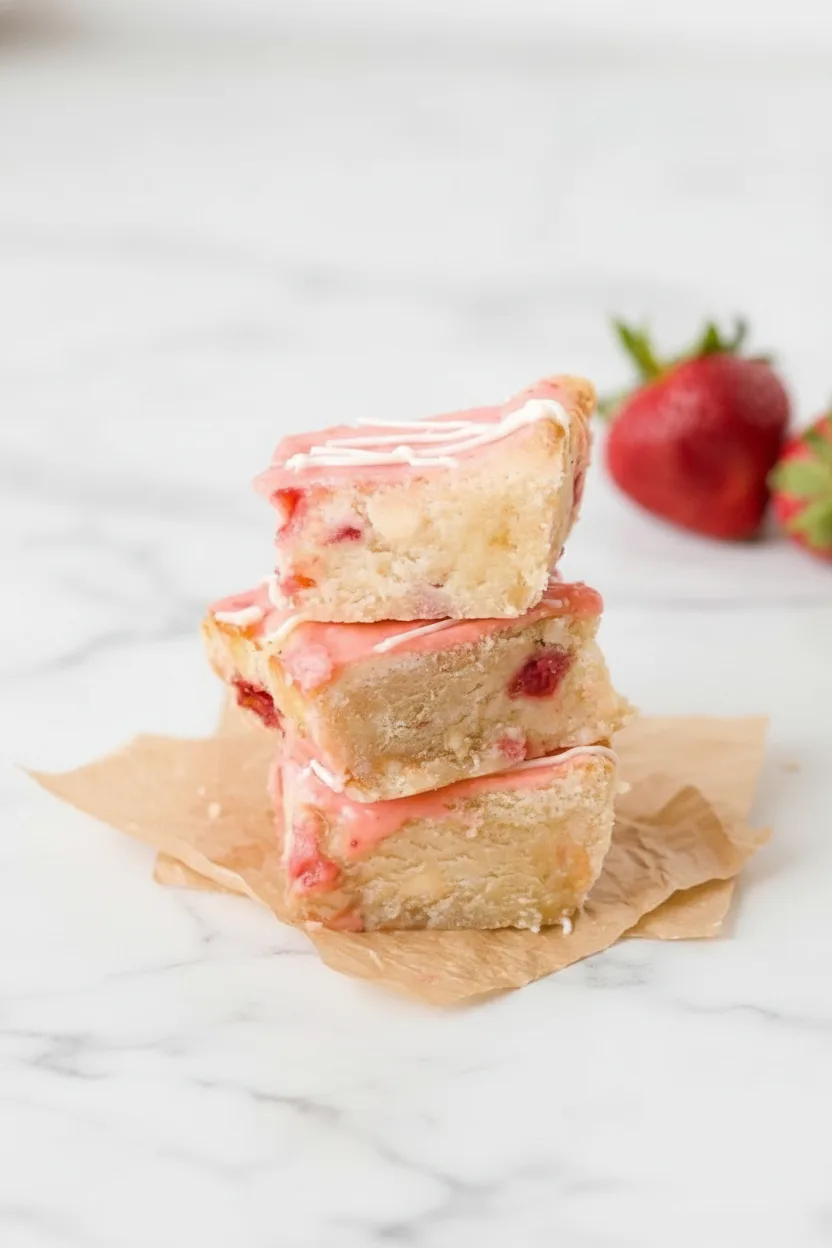
So gather your ingredients, warm up your pan, and enjoy the satisfying process of creating something wonderful from simple staples. Your homemade spring rolls will be a hit at any table. For more inspiration on creating vibrant and healthy meals, explore our recipe for a delicious fresh broccoli pasta salad that complements these rolls perfectly.